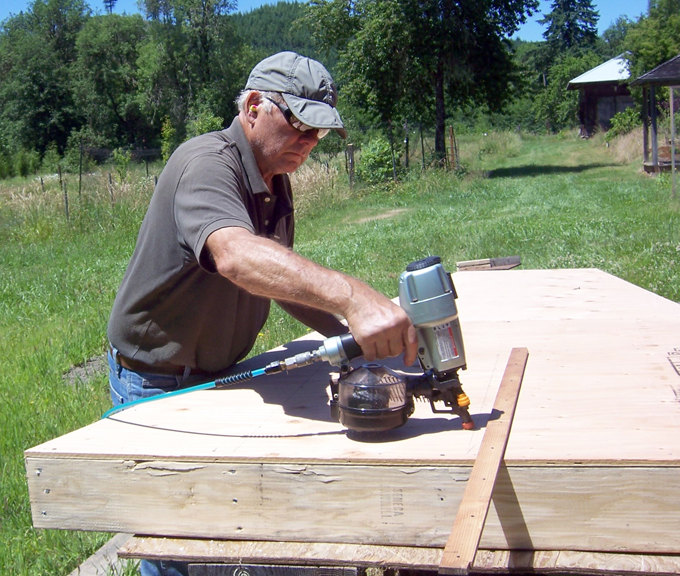
I think in the intro to my blog it says I have 50+ years of experience in carpentry/construction. A recent question posed to me about safety and being confident in what you build brought me to recall my “life” of carpentry.
You could say it started when at the almost age of six, my family moved from one farm to another farm. This new farm had only a house, a wash house, a garage of sorts with a small attached workshop, an outhouse, and an old dairy barn. But it didn’t have a real barn*. So, my father set about building one. It was to be a pole barn about 40′ wide by 60′ long. At my age I wasn’t going to be of any help, but my two older brothers were, doing the grunt work, digging the holes for the power pole/posts to rest in. Also, my dad’s dad and an uncle assisted with the tasks requiring carpentry skills.
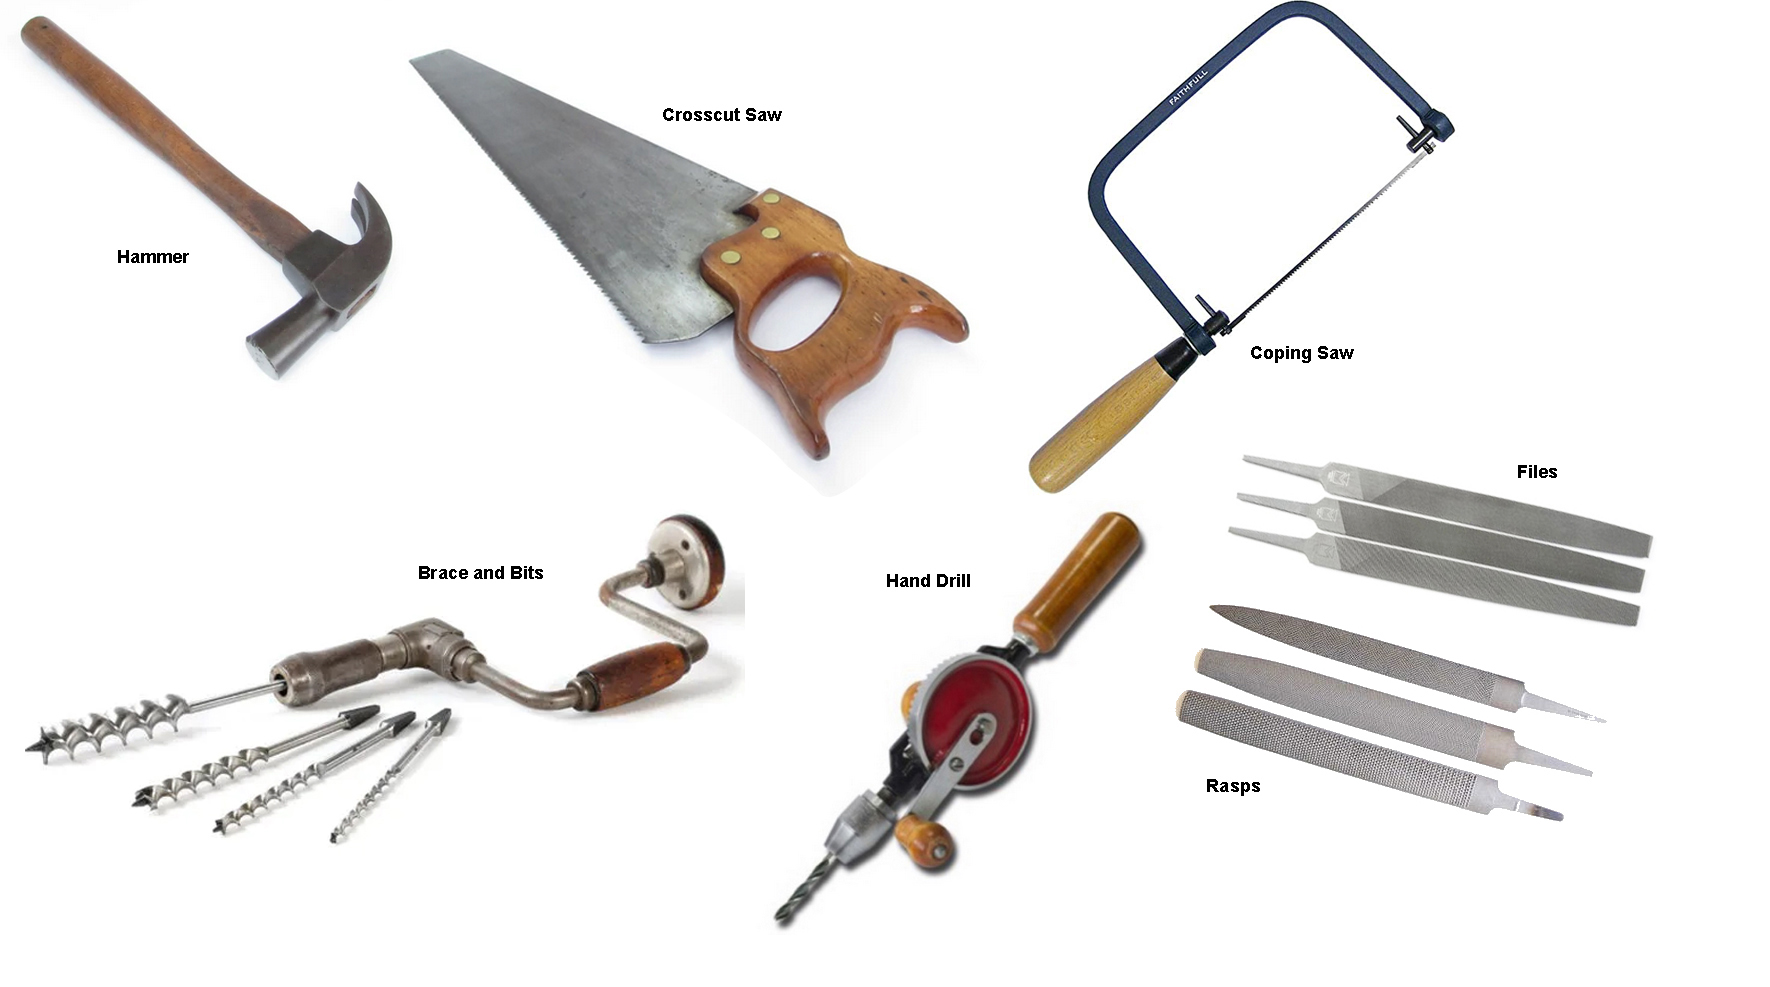
My grandfather was employed at a flour mill, but on the side he repaired chairs for people. He had a small workshop in the back of his garage. This was before power tools, so he had all hand tools: hammers, saws (crosscut and rip), braces (hand powered drills) and augers/bits, a hand held drill with bits, and files and rasps.

There were also tacks and nails, glue, plus other materials to repair the chairs. I still have this photo-image memory of chairs, some waiting for repairs and others waiting to go home, hanging overhead above the parked car in his garage.
Whenever the family visited my grandparents, I would head to that shop. Sometimes he would be available and explain the tools and how to use them. You could say I was hooked.
Back on the farm, I started making things of wood. Probably the earliest was when I was about six years old. My family didn’t have much money so toys were in short supply. We had one cap gun to play “cowboys and [indians]” (I can’t rewrite history). So that my cousin and I could “shoot” at each other, I started making wooden guns; cutting them out with a coping saw, then rasping the rounder shapes or carving with a pocket knife thus shaping out of the planks of wood, a replica, as near as I could, of a six gun. I think I made only two. The boards were not real thick so the cylinder wasn’t very round, but it looked okay.
Next I carved “Bowie” knives. They were small replicas, maybe 8” long, of that knife. They were sharp, although being of wood one would have to saw across your finger to affect a cut. But they had a point that would puncture.

Bowie knife.
When I was six or seven years old and just starting school, or beginning the second grade, I took one of the knives to school to show my classmates – my new friends. On the playground, when my teacher discovered the “knife,” she took it from me. She promised that I would get it back at the end of the year. I never saw it again. Ahh, but I had made more than one!
When I was older, perhaps 8 or 9, I had seen flat bottom boats on television. So I decided to build one. We didn’t have much scrap/or spare wood around so I found enough to build what resembled more a hog-feeding trough than a boat. It was long enough to get two small people my size in. I got it down to a cattle tank (pond) we had with shallow water at the edges. I coaxed my youngest sister to join me. We got in and it promptly sank. I didn’t know about displacement. I never got back to rebuilding it again because we had no more or enough wood. But I learned something, even though that realization was much later.
Then there were the times when I thought I could be an aspiring Native American (not that I knew anything about that life.) I was probably around eleven or twelve. I was always barefoot running down the path on our farm toward where a group of the Comanche tribes had once inhabited the land we now held. (Over the years we found many arrowheads, blades, scraping tools, and things we never knew the uses for.) I decided to make bows and arrows. Not having any knowledge of wood qualities, I choose willow, a prevalent brush, to make my bows from. I used the rasp to grind the branches down to the shape and thickness. I made several iterations that culminated in a laminated body, bonded together with something akin to shoe goo and bound with braided fishing line. I used fish line for the string.
Making arrows was a challenge. Finding straight branches was nearly impossible. But I gathered a few. I removed the bark and then rounded and smoothed them with a rasp followed by a file. I didn’t know how to make arrow heads from rocks, so I used bones from cow legs to carve the heads. Those were lashed into a slit on the arrow. Most of the time when I sent an arrow flying the head would shatter. I never could get feathers to stay on my arrows so they flew a bit erratically.
When I was thirteen, my family moved from the farm to the town where I attended school, but by this time in my life, making things and working with wood were firmly bonded into my life.
*Correction: My oldest brother Ken corrected me on the matter of whether there was an existing barn. There was. He had told me this earlier, after he and my other brother Terry made a visit to the old farm, but I had forgotten. Whether that barn hadn’t suited my dad’s needs or what he wanted in a barn is not known to me. My brother had the unenviable job of de-nailing all of the siding and salvaged lumber and then sorting and stacking.
Thanks for stopping by. Be sure to check out our books about building a yurt or a small cable suspension bridge. The links to purchase are on the introductory page:
Images, diagrams, and text copyright 2013-2022 by Marvin Denmark unless otherwise noted. Please do not copy and post my content anywhere without my permission. Thank you.


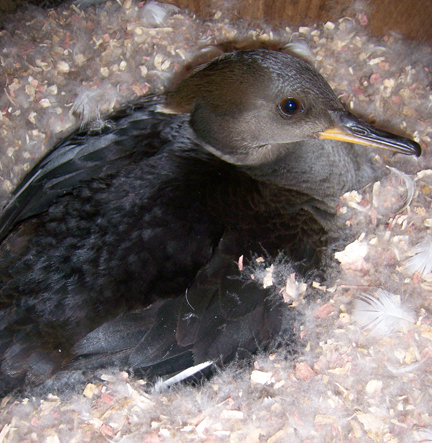
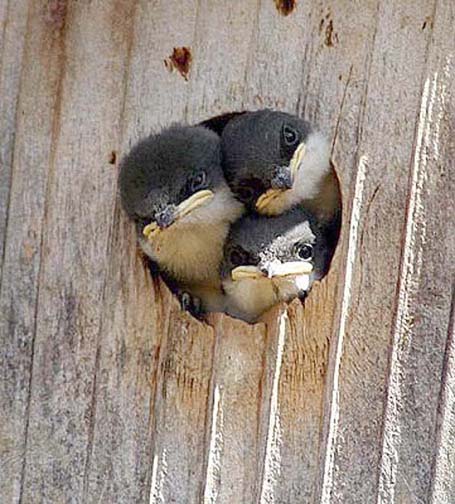
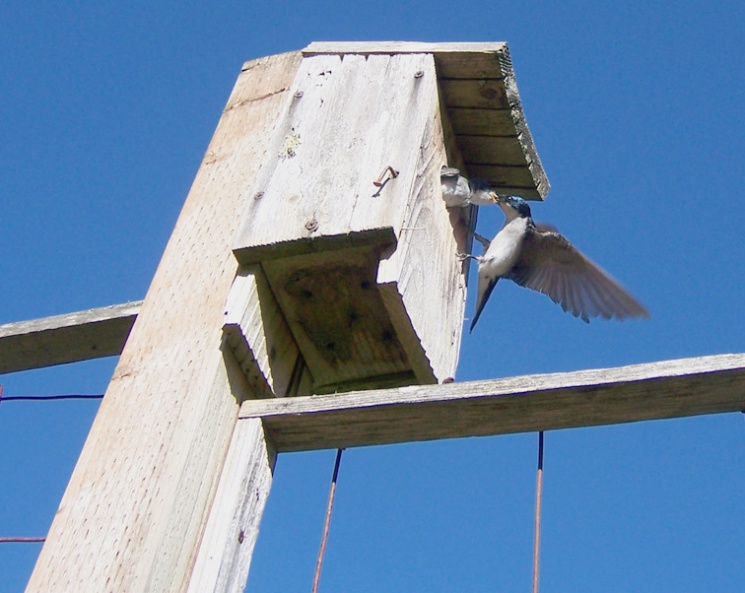 I’ve built a lot of bird houses over the years, following one basic design and using cedar when I have it, and only varying the size a bit. The box is easy to make and installs with a screw on the inside back and one into the bottom of the back. I hinge the front with a bent nail or other metal device, making the house simple to hang as well as clean out in the winter. I have these all around the garden and on posts throughout the pasture. Cavity dwelling birds are for the most part insect eaters. Nice to have around in the summertime!
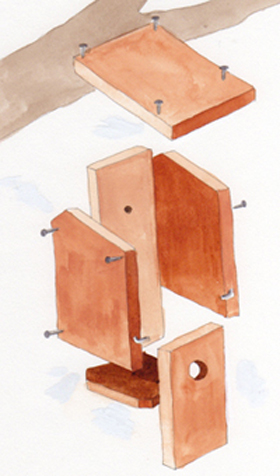 This is an illustration from my spousal unit’s book
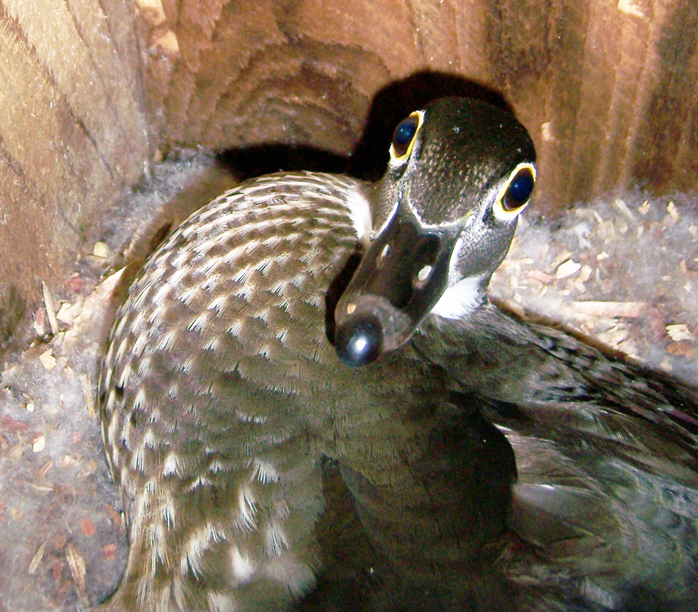
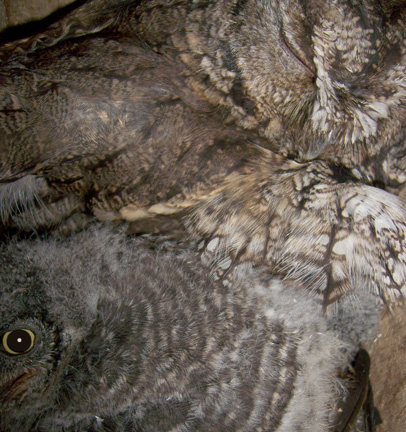
 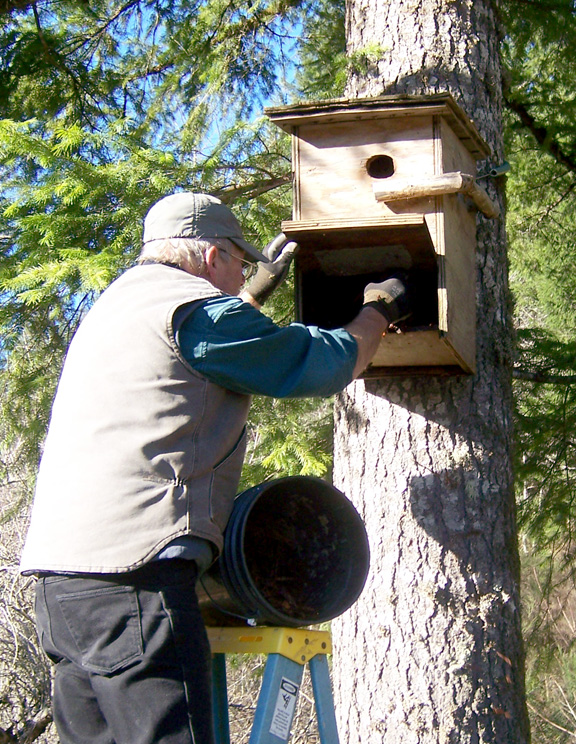 worked well, both for flying squirrels, Douglas squirrels, and chipmunks. A honeybee swarm also took it over the year I was selling the house. I let my bee-keeping neighbor take it away and when he convinced the bees to move into one of his structures, I got the box back and hung it at our new place.