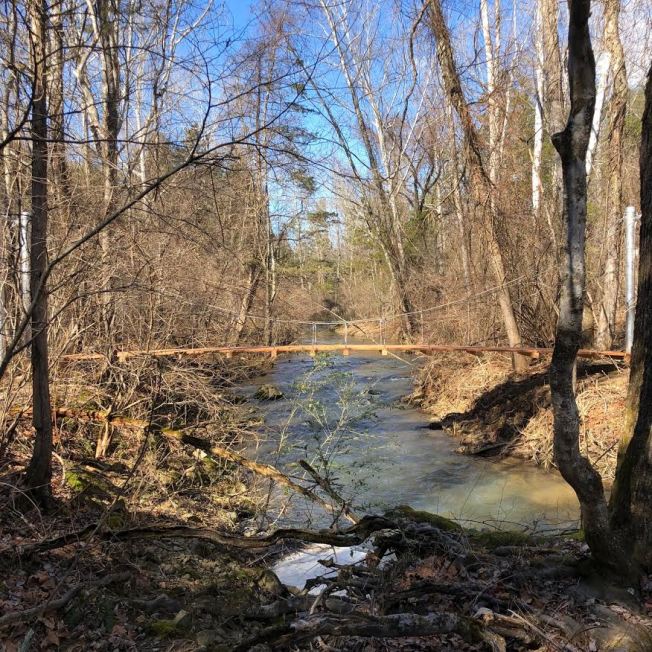
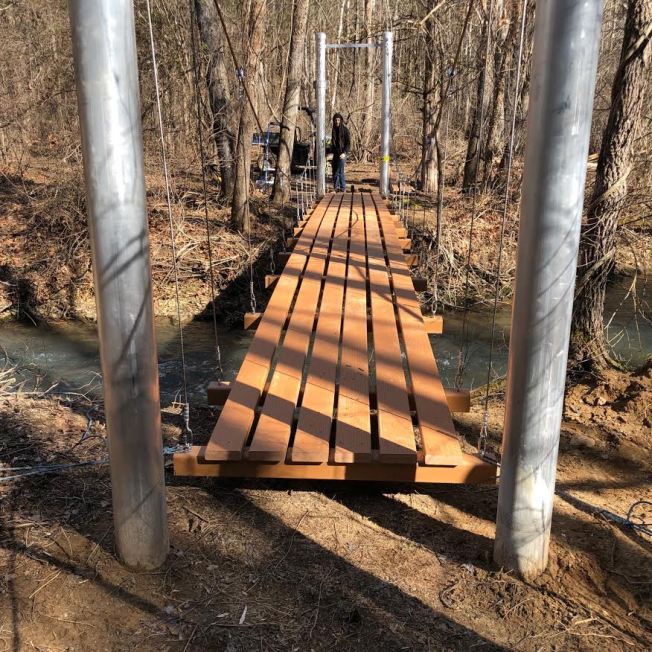
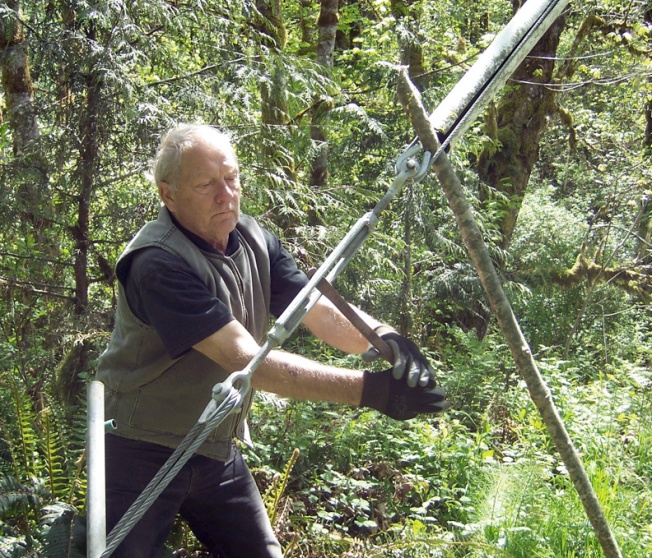
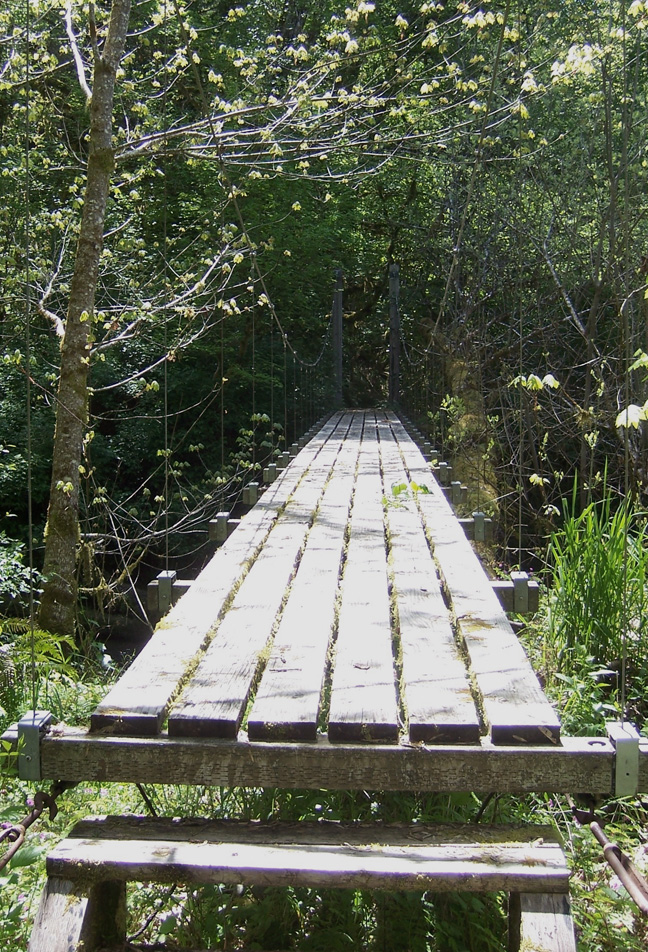
When the idea of the cable locking system first came to me, it was to assemble and disassemble the means of holding the beams for the deck of a suspension bridge. How it was to be produced and what that might cost were of secondary consideration then. After working out just how I would have it made, I found a manufacturer that would do the job, and it was a reasonable cost.
It was a long process getting the patent for the cable locking system, but once that was accomplished we set about writing a book – Building a Small Cable Suspension Bridge with the Cable Locking System. The book was meant to promote the cable locking system and talk about all the steps we took to build the bridge.
I never thought there was much of a market for small suspension bridges, after all, how many people have a creek or ravine that they need to cross on their property? But after we published the book, there was a fair amount of interest in the cable locking system, mostly in the United States, but also from around the globe. And we had put in the book, and on our website, “contact us if you are interested in the CLS.”
About a year later, some people were asking about purchasing CLS components. We had three companies that could do the job, but we were only considering about 50 “units.” After some waiting they gave quotes on 100 or 300 units. The prices seemed expensive, and after informing the interested buyers, we heard no more from them.
The cost of production seemed to be a problem and we weren’t willing to buy and store parts in case someone ordered them. So I wondered: Can I simplify the CLS so that it could be produced more cheaply, and by just about anyone, with a minimum of tools? I came up with a possible answer.
The “inverse” CLS employs the cable locking system but places it somewhat in reverse of the
original application. It eliminates some of the materials and simplifies the manufacturing process while still using the patented cable locking system. Here’s a drawing:
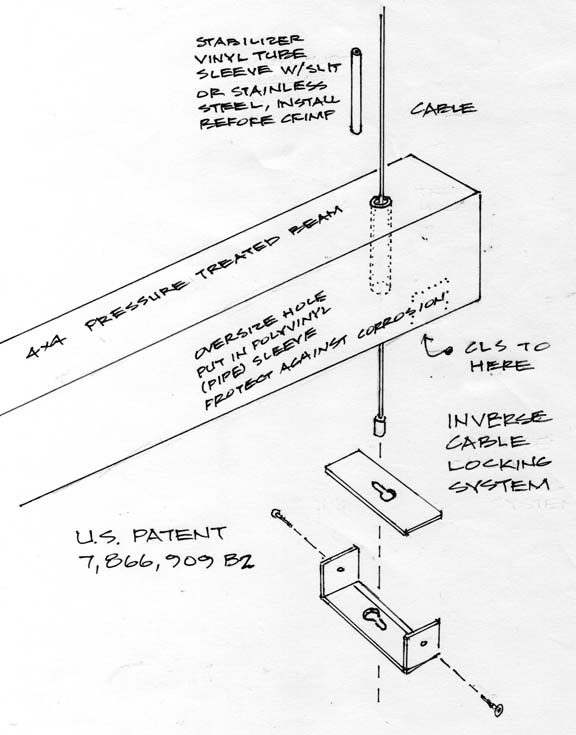
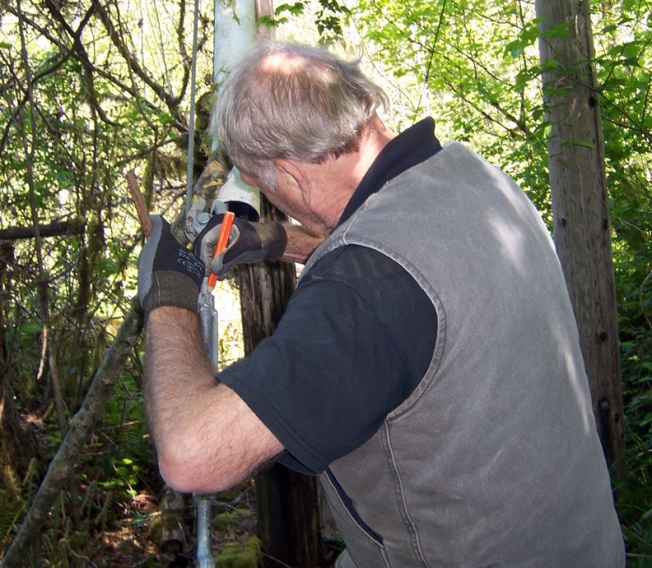
The new system has some drawbacks, in that it has to be placed beneath the beam during assembly as opposed to slipping the beam into the original CLS. Also, the beam has to be pre-drilled and a PVC tubing should be inserted to protect the cable from corrosion. But overall, assembly is not all that different from the original cable locking system design.
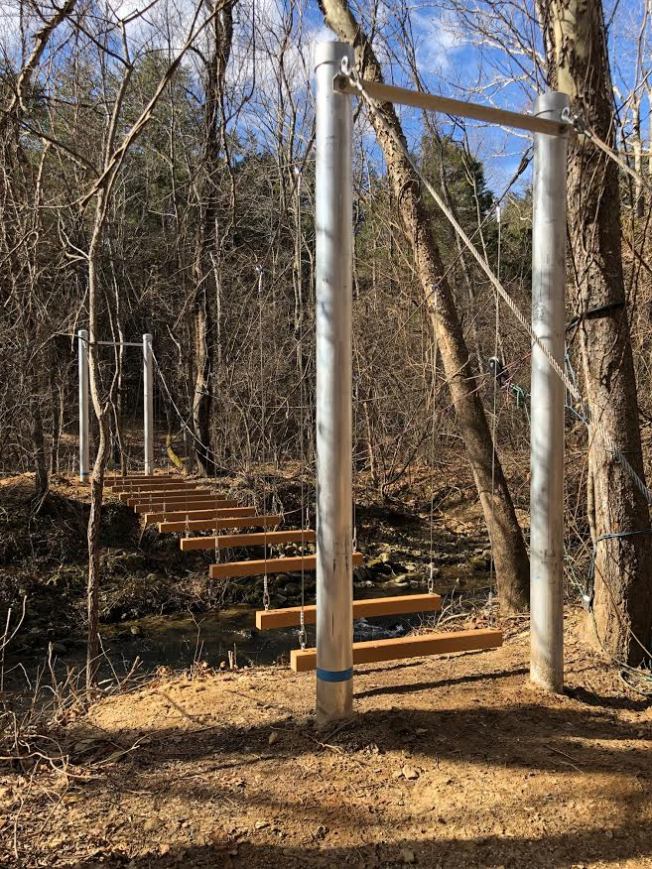
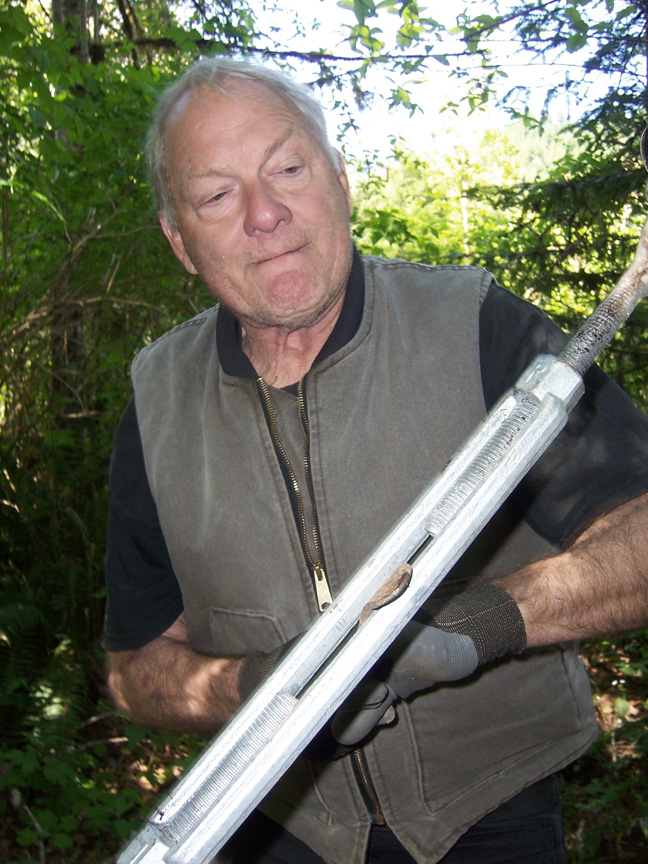
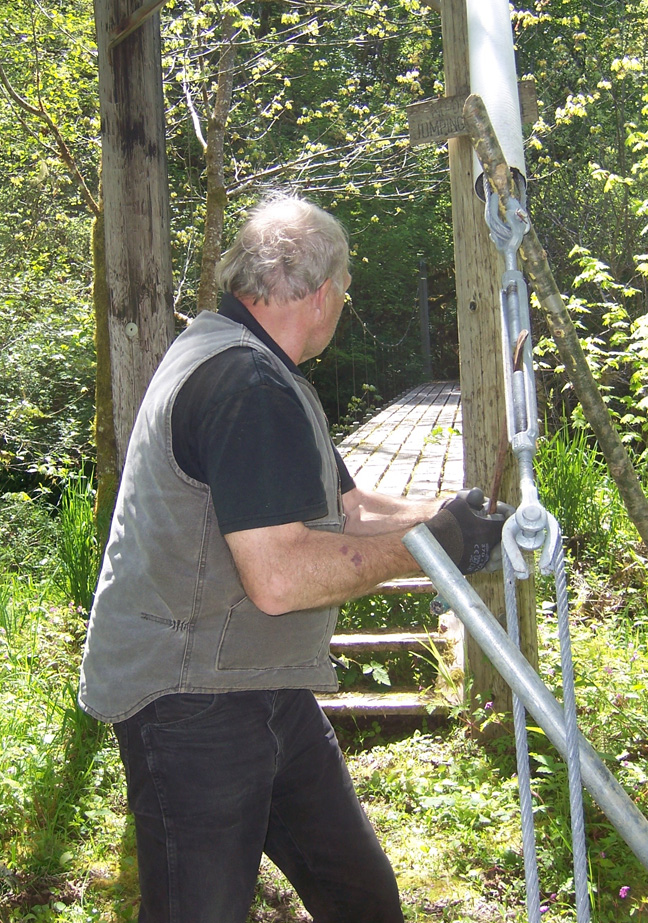
Picture a swing: hung by two ropes (chains, cables, etc) one on each side. To assemble the “inverse” system, while cradling the beam in your lap, grasp the first of the two suspender cables, push it through the pre-drilled hole ( with tube protector) such that the cable can be inserted through the “inverse” CLS. Pull tight. Proceed to other side and repeat. A screw through the side of the inverse will lock it to the beam so that it can’t move about. I actually use a screw in my original design, if you noticed in the book.
Hopefully this design will be something more affordable and something that people can have made locally without a lot of hassle. I prefer the original set-up for ease of assembling “on the fly” and less intrusion to the beam, but this is an option for you to consider.
Thanks for stopping by! Be sure to check out the book. It includes some cool ideas that apply to other projects, like how to put a really tall post into a deep hole when you aren’t that tall. Amazon has the book on sale for about $12.00 right now. Here is the link:
Building a Small Cable Suspension Bridge with the Cable Locking System
Images, diagrams, and text copyright 2013 by Marvin Denmark unless otherwise noted. Please do not copy and post my content anywhere without my permission. Thank you.